Home  |  Contact  

Email:

Password:

Sign Up Now!

Forgot your password?

Nombres y Firmas Animadas
 
What’s New
  Join Now
  Message Board 
  Image Gallery 
 Files and Documents 
 Polls and Test 
  Member List
 Tutoriales para psp 
 Firmas Cary 
 Firmas Marita 
 Retira tu firma 
 Bases para firmas Cary 
 Dejar gifs 
 Marcos Yesikita 
 Marcos listos para usar * 
 
 
  Tools
 
tutorial para hacer fondos: TUTORIAL HACIENDO UN MARCO
Choose another message board
Previous subject  Next subject
Reply  Message 1 of 3 on the subject 
From: cary  (Original message) Sent: 30/09/2010 21:09
TENES QUE TRABAJAR CON DOS VENTANAS UNA ES LA QUE VAS A HACER EL FONDO Y LA OTRA DONDE TENES LAS TRAMAS PARA COPIARLAS.
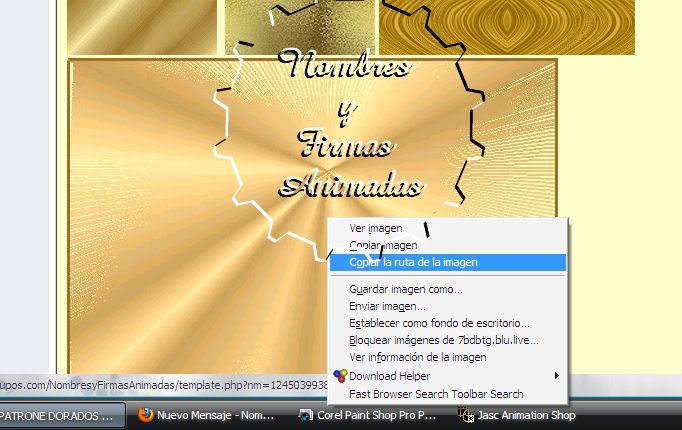
ANDA A LA PAGINA QUE TENES LAS TRAMAS Y COPIA LA QUE TE GUSTA DE ESTA MANERA
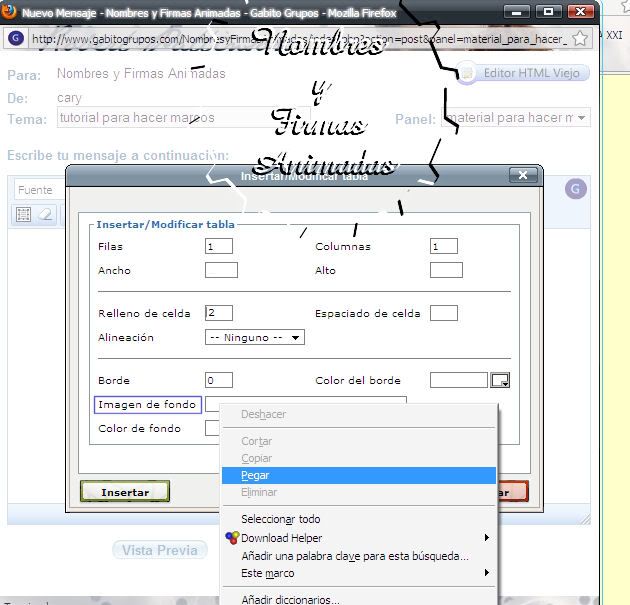
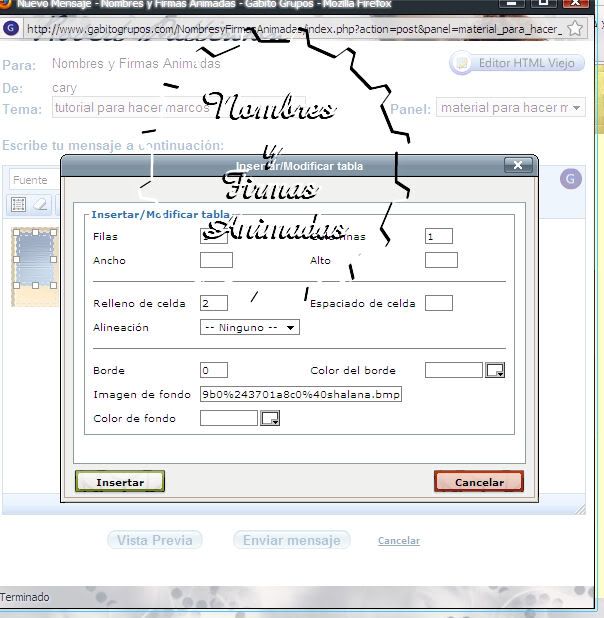
HACE CLICK EN INSERTAR TABLA PONE ESTOS VALORESY CLIK EN INSERTAR
 
 
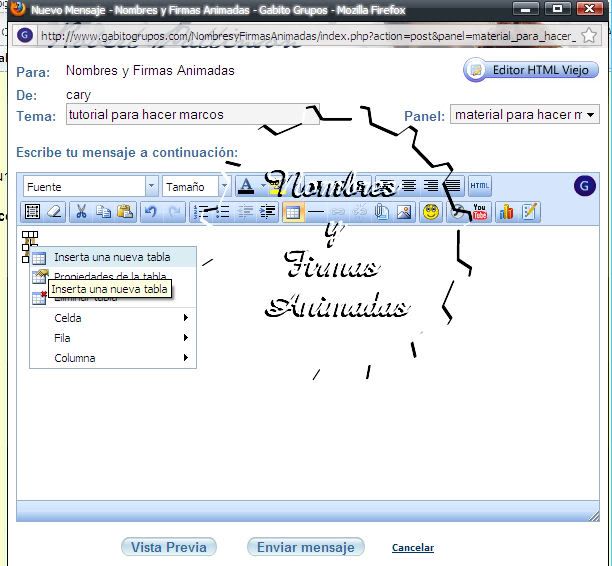
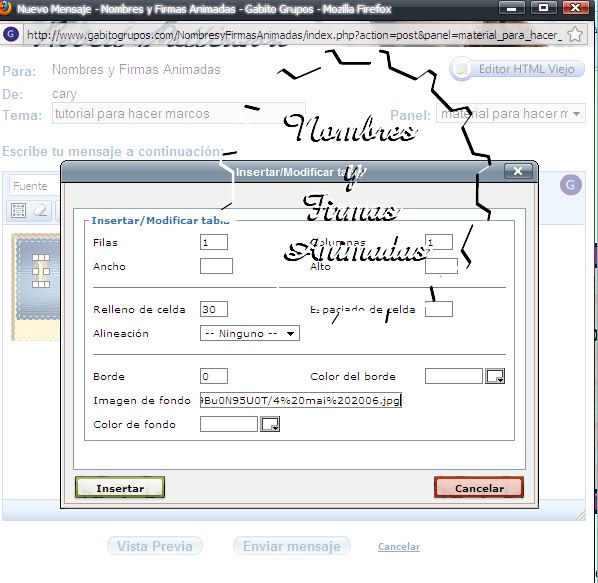
AHORA PONE INSERTAR NUEVA TABLA COMO TE DICE LA IMAGEN
 
 
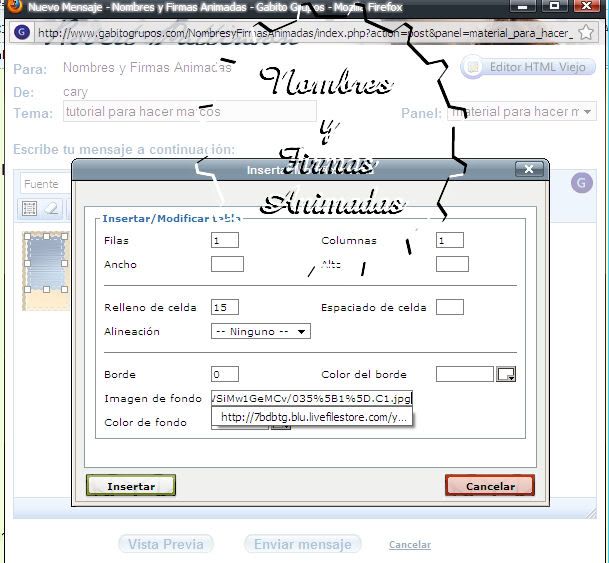
VAS A LA PAGINA DE LAS TRAMAS Y ELEGIS OTRO COLOR Y LO PONES CON ESTOS VALORES.
VOLVES A PONER INSERTAR TABLA Y VOLVES A LOS VALORES DEL PRIMER MARCO Y EL MISMO COLOR DE TRAMA
Y AHORA PONES INSERTAR NUEVA TABLA Y UNA TRAMA CLARA PARA TERMINAR EL FONDO CON ESTOS VALORES
 
TE VA A QUEDAR ASI
 
Y YA TENES TU MARCO LISTO
ESPERO QUE TE SIRVA.
CARY


First  Previous  2 to 3 of 3  Next   Last  
Reply  Message 2 of 3 on the subject 
From: cary Sent: 30/09/2010 21:37
así queda el marco que hice con este tutorial


MUESTRA

DE

MARCO


Reply  Message 3 of 3 on the subject 
From: euriana Sent: 01/10/2010 15:23
Hola  Cary te lo agradesco de todo corazon, voy a intentar hacerlo si puedo,  antes de nada voy a mostrarles como quedo la foto,  mil gracias.  igual inserto la foto de mi hija en el fondo  como me pusiste en el tutorial? o eso es aparte?
 Gracias Gracias  Cary  eternamente agradecida  Ana


©2025 - Gabitos - All rights reserved