|
|
| De: timber (Mensaje original) |
Enviado: 20/04/2018 20:38 |
Geared
This "forum style" tutorial was quite easy to do. The plugin filters used are DSB Flux Gears and Bright Noise, MuRa's Meister Copies, and Eye Candy 4000 (or Eye Candy 3) Swirl.
If you're using Eye Candy 3 Swirl, then you will need to drag the light-color-filled layer from your working canvas onto the workspace as a new image before applying the Swirl. If you try to apply the Swirl to the filled selection, then the Swirl will be "warpy". After applying the Swirl (to the new image), copy the image and then paste it into the selection on your working canvas.
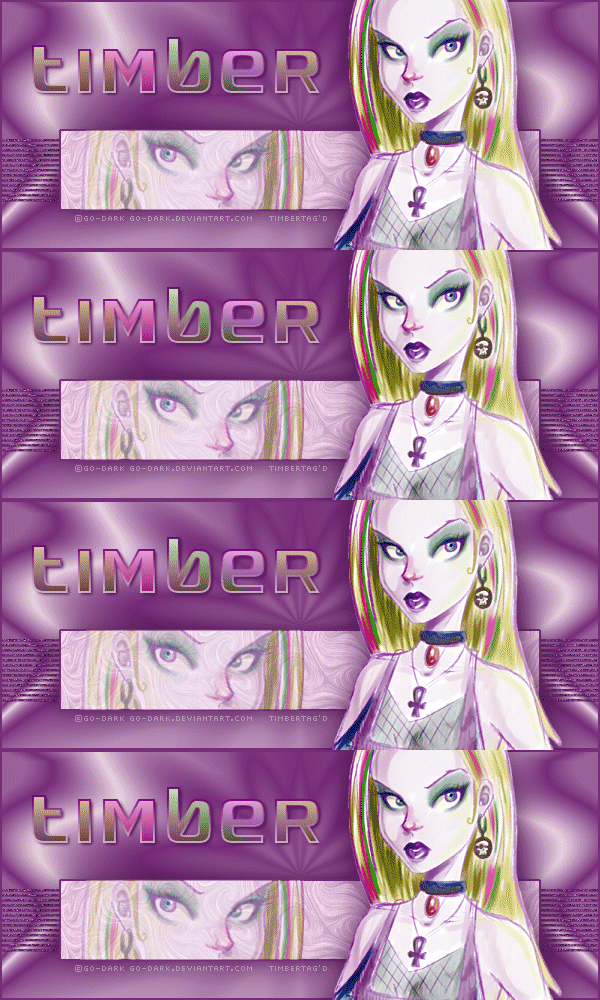
For the Swirl layer, I "colorized" mine because I wasn't satisfied with the greyish color of the swirls. After applying the Swirl filter, I used the Fill Tool with the Blend Mode set to Soft Light and the Opacity set to 50 to fill the selection with my dark color. For my text I used Quadaptor Font. I colorized it by pasting a small section from the hair of the tube into the text selection and setting the Blend Mode to Color(L) and reducing the Opacity to 50. I used Pixelette Font for the artist credit and watermark. I tried all the optimization settings in Animation Shop and settled on Median Cut and Error Diffusion (on the Colors tab) as the best settings for this animated tag.
Have fun with this one; I can`t wait to see your results. |
|
|
|
 Primer
 Anterior
2 a 7 de 7
Siguiente
 Último

|
|
|
|
De: justjam |
Enviado: 21/04/2018 19:32 |
Oh goodie!  I'm going to try this one for sure. It might take me a while to select a tube and a font.  That is always the toughest part. I love your results and thanks for the info about your font and how you colorized. I didn't have that font so ran right away to download it.  I have a ton of fonts already but never seem to have the "right" one. Thanks for the challenge! |
|
|
|
|
|
De: justjam |
Enviado: 21/04/2018 23:13 |
Thanks for posting this tut, timber. It was fun to do. Here are my results:  For my name I used the font Failed. I changed the layer blend of Luminance Legacy for the small tube. I enjoyed doing this one and can't wait to see more results. |
|
|
|
|
|
De: timber |
Enviado: 21/04/2018 23:33 |
I can't agree more, Judy; the tube and font selection can take forever!  But when you find that perfect tube or perfect font, it makes all the time spent worth it  . I love your results!  Misstigri's work is so beautiful and that font is right down my alley! I didn't have that one, so I grabbed it. Thanks for showing me another great font to collect!  This was such an easy tutorial to do that I will most likely do it again. I love the easy tutorials that have a visual impact as most of Aremgy's Tutorials do; he's an awesome tut writer. Thanks for playing with this tutorial  and showing your results; I enjoyed seeing them!   |
|
|
|
|
|
De: timber |
Enviado: 01/05/2018 23:10 |
Here's my second play with this tutorial. I went with a more science-fiction tube and font as this animation effect kind of reminds me of something futuristic. And Mother's Day is coming up, so I thought it was the perfect tube to choose at this time. 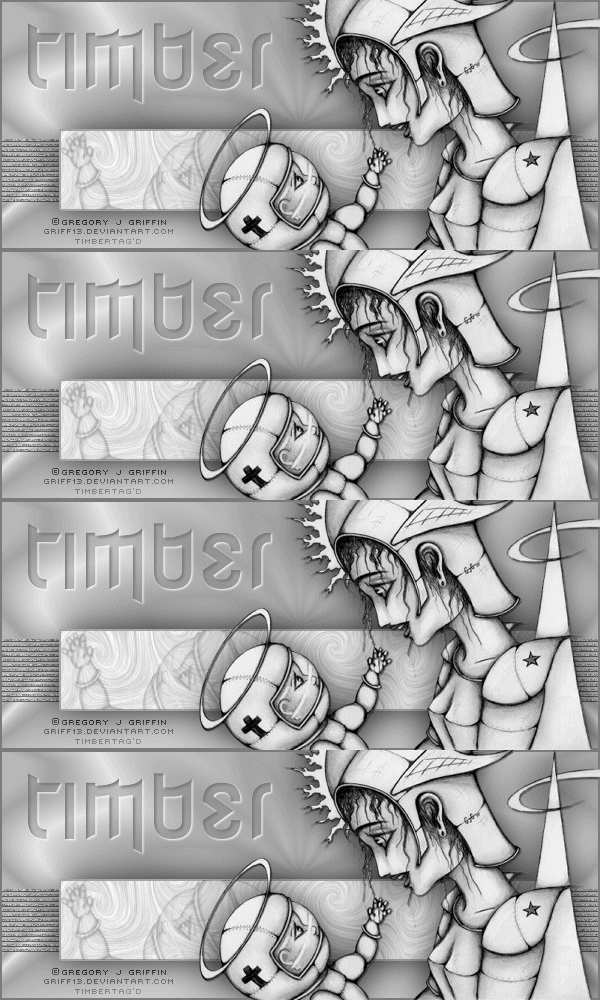
I think I followed the tutorial as written, so my only notes to share would be for my name. The font I used is Effervescent Superbeings which sounded like an appropriate name for a font to use for this tag LOL. I selected the text, added a new layer, applied a Cutout (2,2,100,4,#7B7B7B), then added a new layer for a Drop Shadow (1,1,100,3,white), and finally I reduced the opacity of the text layer to 34. The font I used for the artist credit and watermark is Victor's Pixel Font. |
|
|
|
|
|
De: justjam |
Enviado: 07/05/2018 03:07 |
Cool tag, timber. I love the font you used and the cutout effect is perfect! Thanks for sharing your cutout settings also. I'll have to try this tut again too!  |
|
|
|
|
|
De: timber |
Enviado: 07/05/2018 04:35 |
Thanks, Judy! I love to experiment with different font treatments and challenge myself to make each name different. That's not always easy to do LOL. I posted this tutorial as one of the Tutorial Challenges at Escape From Reality this month, and I received this tag as a gift from Leona  . 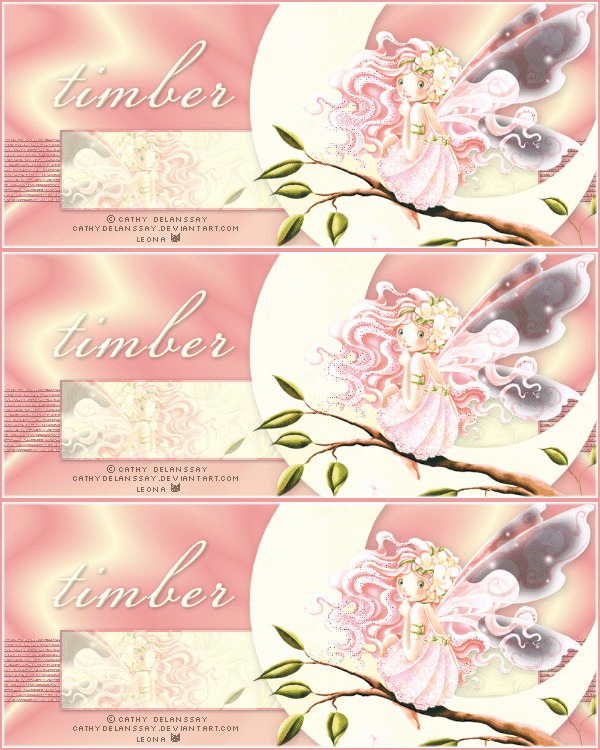 One of the things I love most about doing tutorial challenges is seeing different versions of the same tag made by different taggers! |
|
|
 Primer
 Anterior
2 a 7 de 7
Siguiente
 Último

|

