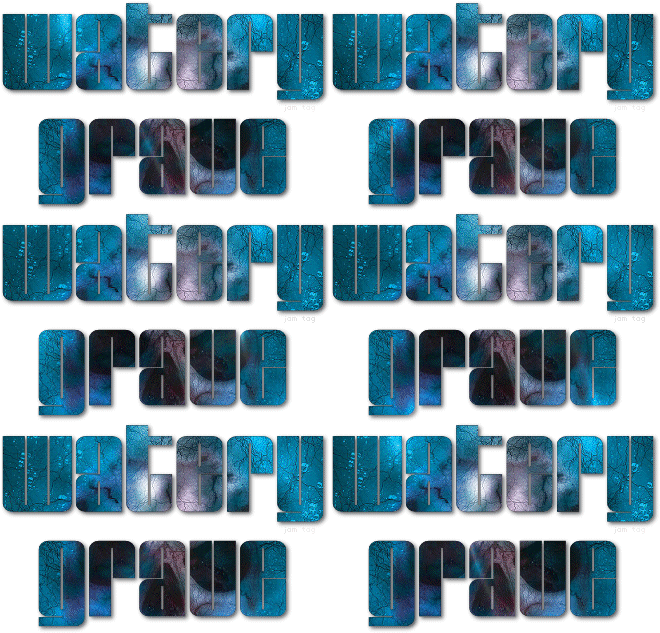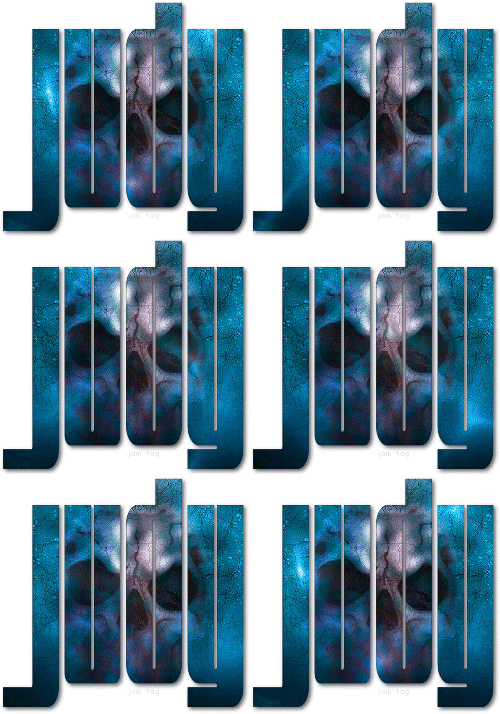
For this tut, you will need the Glare font Here
and the skull-2580981 image from Pixabay Here.
I downloaded the 1280 by 861 skull image.
Open your skull image in PSP and go to windows-duplicate and then close the original image.
Promote background layer and resize to 50 percent.
Select your text tool with these settings: vector, bold and anti-alias checked, size 82, stroke 1, white as foreground and background fill to black.
Apply text and move the text to near the center of the skull image. Using the nodes, stretch the text to cover most of the skull face.

Selection from vector object. Highlight raster 1 (skull image)
Keep selection.
Go to image resize and resize to about 60 percent but, make sure resize all layers is NOT checked.
Make sure all of your selected text fits inside the area of your skull layer.
Hide the vector text layer on your layer pallette.

You can now see what part of the skull image is inside your text.
You can move the raster 1 (skull layer) around to adjust the look of your text fill but, be sure the entire text selection is inside the area of your skull layer.
When satisfied with your text fill, highlight the skull (raster 1) layer and right click, promote selection to layer.
Hide raster 1 layer.
Move promoted selection layer to top.
Deselect (Select None)
Highlight your vector text layer and click the + . Right click on your name layer and select edit text.

Change the stroke of your text to 1.5 black. Click Apply.
Convert your vector layer to raster. Highlight the Promoted Selection layer and merge down.
Unhide your text layer.
Add drop shadow of 2, 2, 67,6, black.
Add your watermark and anything else you want at this time.
Make sure the raster1 layer is hidden and copy merged and paste to Animation Shop.
In Animation Shop, crop by surrounding the opaque area.
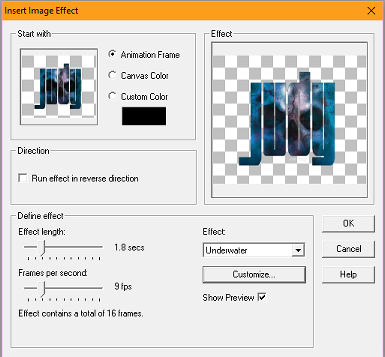
Go to Effects-Insert Image Effect-Underwater with these settings.

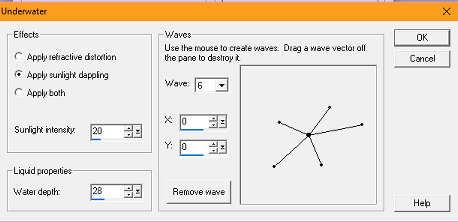
Click Customize and apply these settings.

Click OK.
You should have 17 frames. Delete frame 1 and view animation.
Optimize with Optimized Median Cut and Error Diffusion checked (or whatever looks best to you).
Save as a .gif

I hope you'll give this a try and return to show off your results  . .
You can post them with the other member results
HERE
This original tutorial was written by justjam on September 13, 2018.
Any similarity to any other tutorial is coincidental.
Please do not claim it as your own, pass it around in groups or post to any other location.
You may print out a version for you own use. |
|
|

