
You may print this out for your own personal use, but please do not rewrite, translate, e-mail out, offer any part of this on any other site, add to a CD, or claim this as your own. Your finished result is yours to do with as you please, including making tags and/or snags for others. You may offer your results wherever you wish, but you may not sell for profit. This tutorial was written by timber on June 9, 2008.
I wrote this tutorial using PSP8 and Animation Shop 3.10. Although I have included as many screenshots and details to make this tutorial easier for beginners, some basic knowledge of PSP and Animation Shop would be helpful. Unless I say otherwise, all 'clicks' are with the left mouse button. I have included keyboard shortcuts for the steps in parentheses ( ).
For this tutorial, you will need:
Paint Shop Pro
Animation Shop
Eye Candy 4000
(or Eye Candy 3)
Patriot Font |
1. Open PSP and Animation Shop (AS).
Open the font and minimize it to the taskbar. |
2. Create a new image  (canvas) 400x200 with a white background. (canvas) 400x200 with a white background.
File > New (Ctrl+N)
screenshot |
3. Load the Text Tool  (T) and apply these settings* (all other settings on the toolbar should be default settings). (T) and apply these settings* (all other settings on the toolbar should be default settings).

*If you're using PSP 10/11/12, your text size is rendered differently than mine, so instead of using size 72, try size 96. |
 |
4. On the Materials palette, set the Foreground Color to #0000C0 and the Background Color to #C0C0C0. |
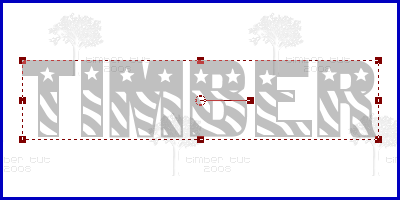 |
5. Click on the canvas, type your text into the Text Entry box, adjust the kerning if necessary, and then click Apply.
Center the text on the canvas  . .
Objects > Align > Center on Canvas

If your text is wider than your canvas, just resize your canvas  (increase the width as necessary). (increase the width as necessary).
Image > Canvas Size
Or if you prefer, you can decrease the text size until your text fits on the canvas. |
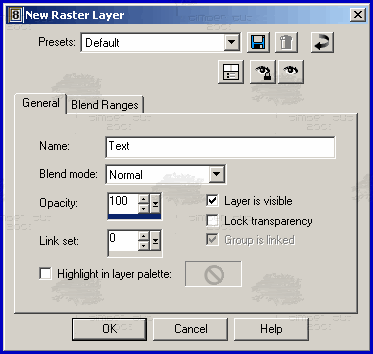 |
6. Add a New Raster Layer  and name it Text. and name it Text.
Layers > New Raster Layer

Move Text down  . .
Layers > Arrange > Move Down
 |
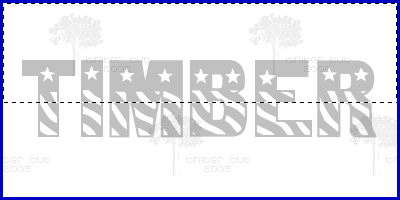
7. Load the Selection Tool  (S) and apply these settings. (S) and apply these settings.

Click on the Custom Selection  button.* button.*
*If you're using PSP7, double-click on the Selection Tool  to open the Select Area dialog box. to open the Select Area dialog box. |
 |
8. Set the Custom Selection with these values.*
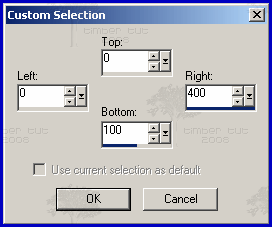
*If you resized your canvas, change the value of "Right" to the same size as the width of your canvas. |
9. Load the Flood Fill Tool  (F) and apply these settings. (F) and apply these settings.
 |
 |
10. Flood Fill  the selection with the Foreground Color. the selection with the Foreground Color. |
 |
11. On the Materials palette, set the Foreground Color to #FF4040 and the Background Color to #800000. |
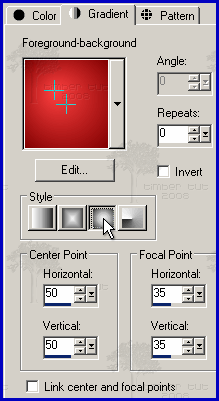 |
12. On the Materials palette, set the Background Style to Gradient  . Load the Foreground-Background gradient and apply these settings. . Load the Foreground-Background gradient and apply these settings.
 |
 |
13. Invert the Selection  . .
Selections > Invert (Ctrl+Shift+I) |
 |
14. Flood Fill  the selection with the Background Gradient (right-click). the selection with the Background Gradient (right-click). |
 |
15. Deselect  . .
Selections > Select None (Ctrl+D)
Make Vector 1 active.

Load the Move Tool  (M). (M).
Zoom in by 5 steps  . .
View > Zoom > Zoom In By 5 Steps |
Correct
Incorrect |
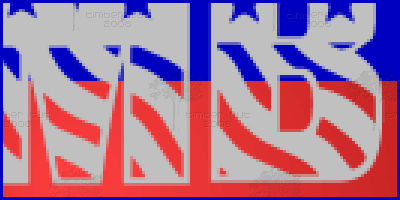
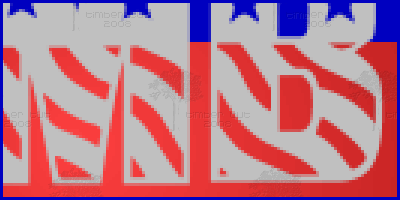
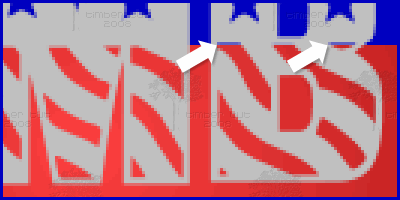
16. Press-and-hold the Shift key while clicking-and-dragging the layer down until only the red color shows through the wavy lines in the text.
Note: It is incorrect for any blue to show through the wavy lines.
Go back to Normal Viewing  . .
View > Zoom > Zoom to 100% (Ctrl+Alt+N) |
 |
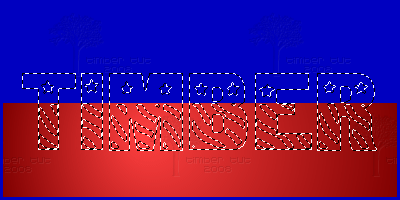
17. Select  Vector 1. Vector 1.
Selections > From Vector Object (Ctrl+Shift+B)
 |
 |
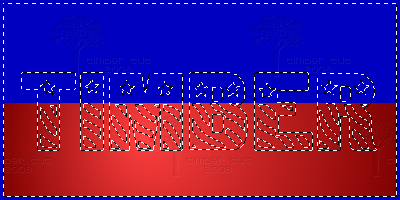
18. Delete  Vector 1. Vector 1.
Layers > Delete
 |
 |
19. Invert  the selection. the selection.
Selections > Invert (Ctrl+Shift+I) |
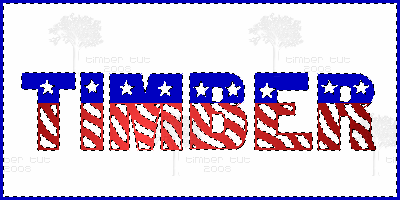 |
20. Delete  the selection. the selection.
Edit > Clear (Delete) |
 |
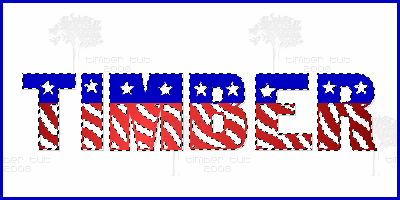
21. Invert the Selection  . .
Add a New Raster Layer  and name it Drop Shadow. and name it Drop Shadow.
Move Drop Shadow down  . .
 |
 |
22. Add a Drop Shadow  with these settings. with these settings.
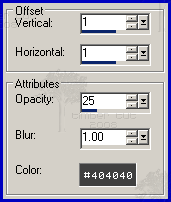 |
 |
23. Make Text active.

Duplicate  Text. Text.
Layers > Duplicate
Move Copy of Text down below Drop Shadow.
 |
 |
24. Add an Eye Candy 4000 Motion Trail with these settings.
Effects > Plugins > Eye Candy 4000 > Motion Trail
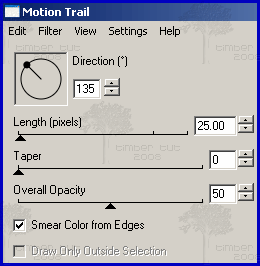
If you're using Eye Candy 3, use these settings here.
Note: If the Motion Trail is touching the left side of the canvas, then the canvas isn't wide enough. Undo the Motion Trail (Ctrl+Z), then increase the width of the canvas. Add the Motion Trail again and continue to the next step. |
Continue to Page 2
|

