What you will need:
PSP 8 (or any version you may have)
Super Blade Pro
Divo font
Animation Shop (optional, if you want to animate your work)
Step 1:
Open any size canvas of your choice (as long as your text fits) with a transparent background
Step 2:
Type your text or name with the following settings:
Foreground and Stroke properties Null (will not be using), Background and Fill properties set to any color (will not matter), Floating, 92 pt (or size of choice), antialias (adjust other settings as you please), and do not deselect (keep active)
Step 3:
Go to Selections > Defloat (ctrl+Shift+F)
Now we are ready to apply SBP to our text or name.
Step 4:
Go to Effects > Plugins > Flaming Pear > SuperBladePro and select the following:

Preset: gold, basic.q5q
Shape: 4th one in list
Change bmp images to: cove (for the one on top) and turbulence (for bottom)
Apply and *repeat (apply SBP one more time). Do not deselect.
*Note* You can choose to apply SBP once if you wish and it will not affect your outcome. I applied it twice when I created this text effect and it does show a slight difference but it will still look good (if you have good eyesight, you can tell lol).
Step 5:
Now duplicate your work (right-click on layer and select Duplicate) and change the duplicate layer to Dodge blend mode.
Step 6:
Merge your visible work (right-click in any or your visible layers and select Merge > Merge Visible).
Step 7:
Go to Adjust > Sharpness > Sharpen and apply.
Now deselect your work (Selections > Select None or ctrl+D).
*Note* If in Step 4 you applied SBP only once, you may Sharpen your work twice. It will darken it a bit around the edges but it will still look good.
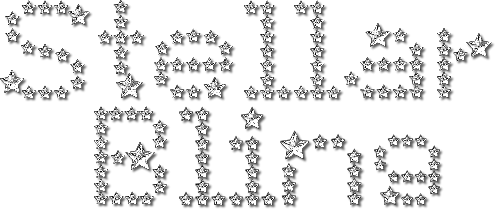
See examples below:

Step 8:
Go to Effects > 3D Effects > Drop Shadow and apply the following settings:
Vertical 2, Horizontal 2, Opacity 64, Blur 3.00, black
Apply.
*Note* You may choose to add your DS as a new layer if you prefer, that way you can adjust the opacity furthermore if needed. That way if you think it looks too dark or light, you can adjust the opacity to your liking.
Crop your work as needed and save your work in any format you wish (preferably PNG to maintain its transparency).
*Optional* You can transfer your work to Animation Shop and save it from there as a GIF.
Copy your work and click in any area of the work space, right-click and select Paste As New Animation (or go to Edit > Paste > As New Animation or ctrl+V).
Go to File > Optimization Wizard (or Shift+Z) and select the following:
Click Next in the window that appears.
In next window, click the Customize button.
255 colors
Optimized Octree
Nearest Color (or Error Diffusion, is you wish)
OK > Next > Next > Next > Finish.
Save your work.
And you are done!
But wait, that is not all! You can be even more creative and add a doll to your text or name and animate your work too!

Doll file name: e155 (Peachie's Collection Empas Dolls, page 16); edited by me (removed yellow stars & flipped frames so telescope is facing left)

I added the DS as new layer. Clicked on name layer and contracted by 2px, then applied a Noise effect with the following settings: Uniform, 100, monochrome. Frame speed 12.
The possiblities are endless. Enjoy!
See member results HERE
This tutorial was created by me and should not be reposted or shared anywhere without my consent. Tutorial was created and written on August 15th, 2018. |
|
 Post Codes
 PSP Challenges
 Smileys