Okay, so I was able to gather this info from looking at the layers I have in the saved file. And making a new one as I tried the steps anew lol
1. Type text in white, as Vector.
2. Add other Vector text layer in gradient color (this layer will be on top of white text).
3. Add tube(s) and crop the excess part. Set blend mode to Screen (or whichever blend mode looks best with what you are working with).
4. Merge GRADIENT and TUBE layers. Duplicate and add the VM plugin to the duplicated layer, then change blend mode** to whatever suits best (I do not have the exact info for the one in my 3rd result).
5. To white text layer, add the VM plugin indicated. To make it easier, set it to top of all layers, then move it off to side (I moved it to the left).
6. Send that layer back to bottom, make adjustments if you are not satisfied with the amount shown off the side.
7. You can adjust the blend mode from step #4** if you needed.
8. Add a drop shadow to the WHITE text layer.
9. Duplicate the TUBE/GRADIENT layer (NOT the copy).
10. Add Gaussian Blur 5.00 to the new duplicated layer. *I duplicated this layer because I wanted the blur a little more noticeable, then merged them. I also enhanced the color.* Move drop shadow layer below this one (it will give the drop shadow a nice gradient look).
You can merge ALL layers once done and satisfied with the look. Duplicate and arrange it so you have your top and bottom (in canvas) texts.
That should be it for this part.
-----------
The main tube was added and duplicated. Adding drop shadow to duplicated layer (top) and a Gaussian Blur to the main layer (bottom).
I duplicated the Gaussian Blurred layer because I wanted it to show more, as well + color enhancement.
That should be it for this part.
----------
For the finishing touch, I typed the script text as Vector, white.
I duplicated the layer and added a drop shadow to the bottom layer.
A Gaussian Blur was added to the duplicated text (top). This is what added the "glow" look. (duplicate this layer if you want more "glow" to it and you can change the blend mode to Dodge or other mode to that suits best.
To the original white text, I added a 75% noise effect.
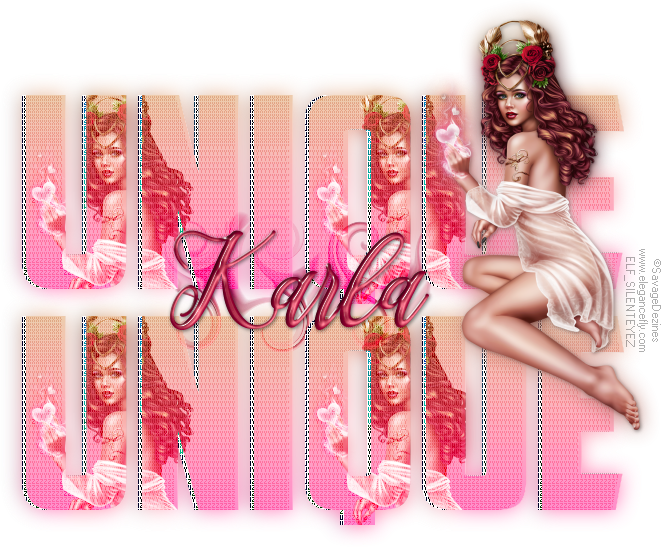
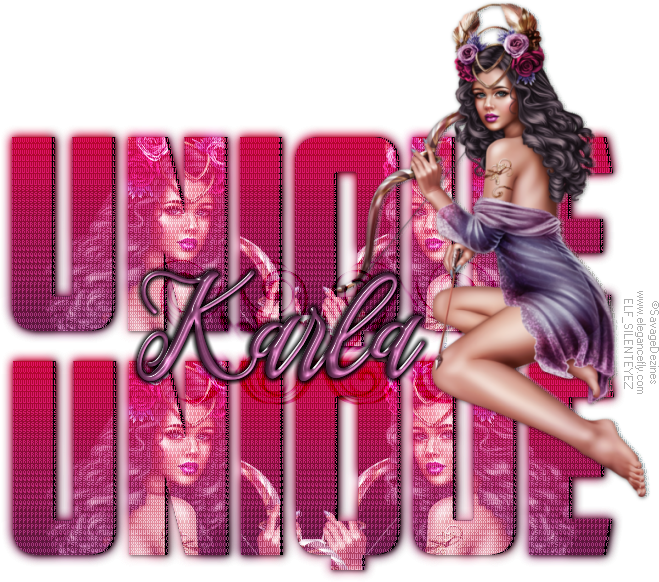
And this was my result:
 Post Codes
 PSP Challenges
 Smileys
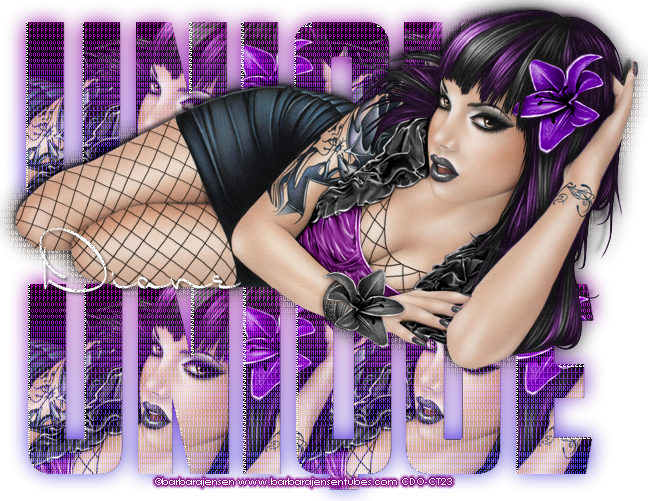

 Thank you for posting your tutorial results, I enjoyed seeing them!
 . I look forward to seeing more of your work!


 .
. Thanks so much,
  Having all these examples makes it much easier for me to get a grasp on the instructions. It's interesting how each of your tags is unique even though you used the same tube. Love all your results!


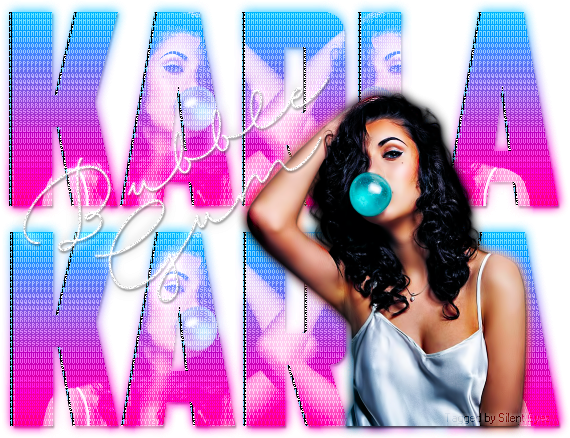

 It's teal, so I thought you might have made it your fave color
  LOL.
LOL.


