|
|
| Da: timber (Messaggio originale) |
Inviato: 17/03/2012 05:14 |

Click the header to go to the tutorial.
If you have any questions about this tutorial, please ask them on this thread.
And don't forget to show off your results when finished!  |
|
|
|
|
|
|
Da: Cheetah |
Inviato: 17/03/2012 16:24 |
Great tutorial - beautiful effect .. It is well written and easy to follow - only when it comes to apply Eye Candy I had to think about which effect I should choose .. Then I noticed that you've written at the beginning about the GLASS settings for EC3 I made two versions because I want try to keep the blue outline - this looks soo nice ..   |
|
|
|
|
|
Da: justjam |
Inviato: 17/03/2012 17:25 |
Thanks Timber for the tut. I had no problem following it except when I got to AS, I wasn't sure if I should have a transparent or white background. Thanks for this great effect. I will play with it more. Here are my results following the tut exactly.  |
|
|
|
|
|
Da: timber |
Inviato: 17/03/2012 19:30 |
Thanks, Cheetah, I forgot to mention it was the Glass filter! LOL Did you use EC4000 or EC3? If you used EC4000, did you remember to change the color to white? Resetting to factory defaults changes the color to green and it makes the image darker. Your tag looks a bit darker than mine and Judy's so I wonder if you changed the color. I like the idea of holding the stroke at the blue color and only rotating the colors for the pattern.
I wasn't sure how to write the part about cropping the canvas. Judy, the reason why I created the canvas with a white background and then hide the background when copy merging the image is so that the full size of the canvas is maintained when pasting into AS. If I remember correctly, if you only use the Copy command, the canvas is automatically cropped when you paste into AS. I usually like to add a 5 pixel border around my finished tag, so I do my cropping in PSP, and then I Copy Merged and paste in AS. That is why, in the tutorial, I create the image first with a white background and then later say to hide the background and keep it hidden just before copy merging; it's all to maintain the canvas size. But maybe that's too complicated. Maybe I should just create the image on a transparent background and then use the Copy command before pasting into AS. The image will be automatically cropped to the edges, but I suppose an experienced PSPer would probably work around that anyway. I would appreciate yours and Cheetah's feedback on how you like to crop your finished tags. Maybe that will help me with how I write the cropping part when I write this officially. I don't want the official tutorial to be another cumbersome tut.
Writing this tutorial with just the text instructions and not all the fancy details and screenshots was so easy. It's definitely easier to write for people who know what they're doing. Thanks for showing your awesome results!And please give me the feedback about the cropping p.s. I looked at my bouncy groovy tag last night in AS and PSP, and I think I know how I made. Let me know if you're interested and I'll give those instructions. |
|
|
|
|
|
Da: timber |
Inviato: 17/03/2012 19:56 |
I went back to the "drawing board", and I made another tag with a solid blue outline like Cheetah made ;). Cheetah, I think it's the solid blue outline that makes the tag appear darker in color. I changed the color of the EC4000 Glass to white and it still appears darker. Thanks for the idea for another version of this tag!  I also re-tested the tutorial using Floating text rather than Vector text, like the way Judy wrote her text tutorial. Completing the tutorial is much faster and easier. There is no cropping needed that I can see; the image is automatically cropped when copying and pasting into AS. I would still appreciate your feedback, but I'm seriously contemplating changing the vector text to floating and omitting the cropping steps. |
|
|
|
|
|
Da: justjam |
Inviato: 17/03/2012 20:25 |
Timber,I like the blue outline version also. I like to crop mine in PSP... most of the time. Like you, I leave approximately a five pixel space around the text. To keep that spacing when pasting it into AS, I first click to "select all" (this puts the marching ants around the canvas). Then copy, and when you paste in AS as new animation, it leaves the spaces around the text. Hope that makes sense. Then I added the white background in AS. I suppose after you crop in PSP you could "merge visible" with a white background, select all, copy and thenpaste into AS as a new animation. Thanks again for sharing the tut......I'm off to play some more.  |
|
|
|
|
|
Da: timber |
Inviato: 17/03/2012 20:49 |
Interesting... I didn't realize you could use Select All to retain the size of the canvas when copying and pasting into AS. I have always used Copy Merged. But when you use Copy Merged you must have more than one layer on the canvas. So when I have only had one layer to copy, I would add a blank layer and then Copy Merge. Now I will try the Select All tip instead. Thanks for sharing that helpful tip!
Is there a particular reason why you wanted to save your tag with a white background?
The blue-outline tag that I just posted was saved on a transparent background and when posting on a white page, I don't think you can tell the difference. Although I suppose if I were to post it on a non-white page, it might look weird lol.
I just tested your other idea of cropping in PSP then Merge>Flatten. Then I copied and pasted into AS and applied the image effect. I thought the white background would get in the way somehow, but I'm surprised to see that it had no effect. So there again, I learned something new. Now I have to give more thought about how to write this lol.
Thanks for the great feedback! |
|
|
|
|
|
Da: JessieJo |
Inviato: 17/03/2012 21:09 |
 Thanks for the tut.. always love your text tutorials This one is easy and fun. |
|
|
|
|
|
Da: justjam |
Inviato: 17/03/2012 21:13 |
|
|
|
|
|
Da: timber |
Inviato: 17/03/2012 21:33 |
You're welcome, JJ, thanks for making it possible for me to finish writing this!
Did you use Eye Candy 4000 to glass your text? Or maybe you used SuperBladePro? I ask because I can see a bit of a groove running down the middle of some of your letters, and I sometimes see that with SBP. Thanks for trying the tut and posting your results!
Judy, that peace symbol is really eye catching. Thanks for trying something new with this tut and applying it to a shape! It looks great with the single color for the name. Thanks for posting your results! |
|
|
|
|
|
Da: Cheetah |
Inviato: 17/03/2012 21:55 |
Beautiful results
timber - yes, I used EC4000 and I resetted to factory defaults and I changed the color to white ..
The name tag I just copied the layer in PSP and pasted in AS as new animation ...
In PSP7 there is a prob with "copy merge" - b/c when pasting in AS then there is always a white background
I rarely use this ... |
|
|
|
|
|
Da: timber |
Inviato: 17/03/2012 22:04 |
Oh, I see, thanks, Cheetah! I remember when working with Clarissa we tried some kind of technique for copying and pasting into AS to ensure a transparent background, but I can't remember what the technique was. I think I have the technique written into one of my beginner tuts, but I can't remember which one. Do you ever create any tags with a transparent background, or do they all have a white background? Thanks for the feedback! Thanks for the inspiration, Judy! I looked through my preset shapes and I found this hand, so I followed your lead and created a new tag. I tried to make a name tag out of it, but I didn't like the placement of the text, so I added a few extra lines of text and made a snag out of it. It's snaggable if anyone wants it. 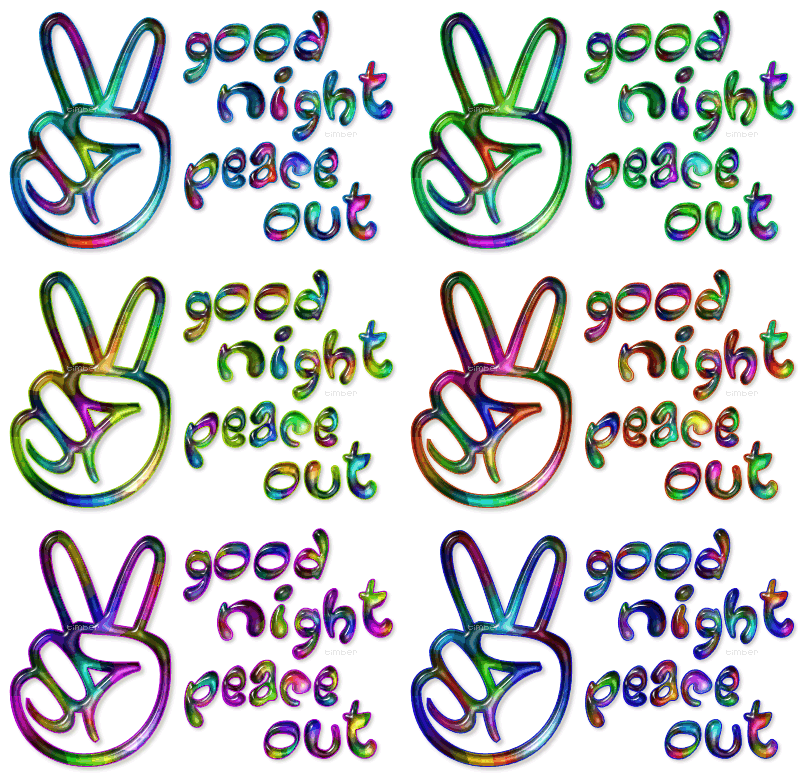 ***PLEASE NOTE*** I didn't realize until I made this snag that one of the frames of the animation, the frame that you pasted into AS, has a display time of 10 and the other frames of the animation have a display time of 20. So there is a quick little skip in the animation although it's not that noticeable. I thought I'd mention it to you in case you wanted to fix the display time. I think you can just take your optimized tag into AS, fix the display time of that one frame and then save (ctrl+s). Edit: Nope, I was wrong. I just tried to re-save one of my tags, and I had to re-optimize to save. I used the same save settings and there was just a small change in the re-optimized tag. |
|
|
|
|
|
Da: justjam |
Inviato: 17/03/2012 22:56 |
GROOVY, Timber I snagged it.
I love seeing everyone's results. |
|
|
|
|
|
Da: JessieJo |
Inviato: 17/03/2012 23:38 |
Timber I am still playing with the tut..
I can not seem to get the eye candy 4 setting right.. so I used one of your glass lettering settings. When I use the setting from the tutorial mine goes really dark and I lose the colors..wierd.
I have been having some problems with my psp for a while now. Not quite sure what is wrong.. I had to download from an old link for a free version but it had all my stuff... don't know enough about computers to know what's wrong. |
|
|
|
|
|
Da: Lightfeather |
Inviato: 18/03/2012 04:08 |
You all are the best!! What talent.
Love looking at what you come up with! |
|
|
|
|
|
Da: Cheetah |
Inviato: 19/03/2012 14:09 |
timber - I usually merge the layers of a tag in PSP -->edit copy -->paste in AS as a new animation and then I customize the optimization settings. The background color of a tag depends on where the tag will be used - for tags in forums I set the partial transpaency to white ... Made this hippie-girl today morning - is a SNAG, if anyone like it  |
|
|
 Primo
Primo
 Precedente
2 a 16 de 31
Successivo
 Ultimo
|

